使用sphinx搭建blog
安装sphinx
安装sphinx以及依赖
pip3 install sphinx
安装其他软件包
pip3 install sphinx-autobuild # 热部署,改动能够实时更新在页面上
pip3 install sphinx_rtd_theme # 主题
pip3 install recommonmark # 插件,支持markdown
pip3 install sphinx_markdown_tables
快速开始
创建并进入sphinx_blog目录,执行命令
sphinx-quickstart
窗口会询问你是否选择独立的源文件和构建目录,这里选择y
然后会要求你输入项目名称、作者以及版本信息,这里直接填入即可,后续可在配置文件中修改
项目创建完成,目录结构如下所示
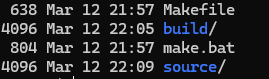
其中Makefile是构建脚本,这里不用过多关心;make.bat用于Windows系统下的构建;build目录存放构建产物,执行命令make html会在build目录下生成html文件,通过浏览器打开html文件,可以看到sphinx生成的网页
修改配置文件
修改配置文件conf.py,配置插件和主题:
extensions = ['recommonmark', 'sphinx_markdown_tables']

html_theme = 'sphinx_rtd_theme'
启动
我们选择使用autobuild进行热部署,这样我们修改了配置文件或者文本文件可以实时更新,执行命令
sphinx_autobuild source build/html --host=<host> --port=<port>
其中host和port不用指定,默认为127.0.0.1地址和8080端口
然后访问http://ip:port即可看到sphinx的默认页面
编写文档
编写index.rst
通过index.rst编写文档目录树结构,能够帮助从主页面逐级索引到目标文档
例如,主页面有如下的目录结构:
Contents:
|
|--content1.md
|
|--menu
|
|--content2.md
主目录下有一篇content1.md和二级目录menu,menu下有一篇content2.md
所以我们在source/index.rst编辑目录树:
.. toctree::
   :maxdepth: 2
   :caption: Contents:

   content1
   menu/index
表示主目录下会有content1文档和menu这个二级目录
再编辑source/menu/index.rst:
.. toctree::
   :maxdepth: 2
   :caption: menu

   content2
表示menu二级目录下有content2这篇文档
编写文档
创建source/content1.md、source/menu/content2.md,编辑并保存。由于打开了热部署,保存时,页面就会实时刷新
文档托管
要将文档托管到网页上,首先需要为sphinx项目创建github仓库,具体步骤省略
然后在Read the Docs网站上注册,绑定github账号后,将该项目导入即可。
添加.readthedocs.yaml
.readthedocs.yaml配置文件用于托管时的配置,在Read the Docs网站上有样例。我们需要填入的内容如下所示:
sphinx:
  configuration: source/conf.py


python:
   install:
   - requirements: requirements.txt
分别表示sphinx项目的conf.py路径和requirements路径
添加requirements.txt
我们在项目根目录新建requirements.txt,并填入前文提到的python库:
sphinx-rtd_theme==2.0.0
recommonmark==0.7.1
sphinx_markdown_tables==0.0.17
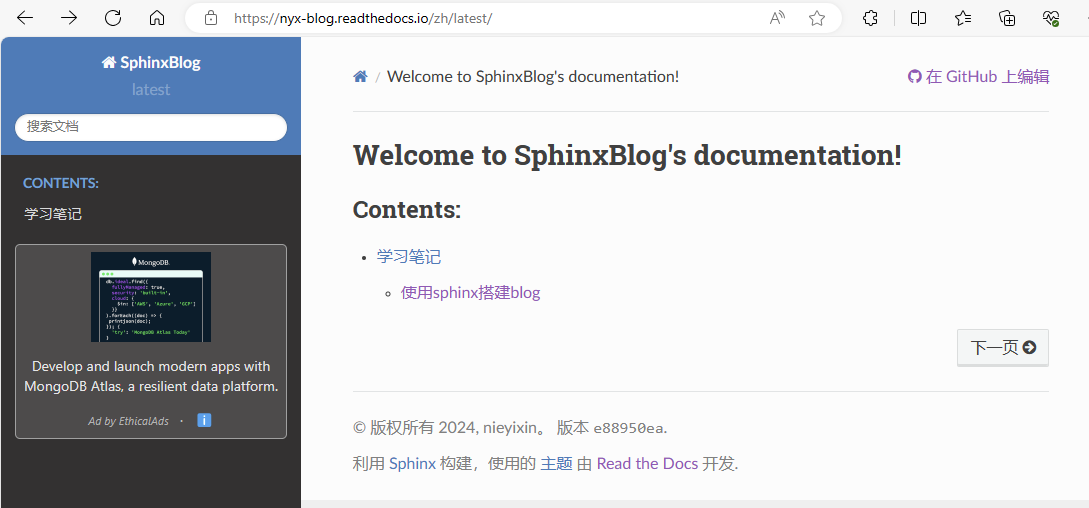
最后我们的博客网站就托管成功了: